Getting Started
There's something undeniably thrilling about unboxing a brand new PLAYTECH gaming PC and setting it up for the very first time!
Although this is exciting, it can also be a daunting task - especially if this is your first Gaming PC!
Rest assured though, we've put together some great video tutorials to get you up and running in now time!
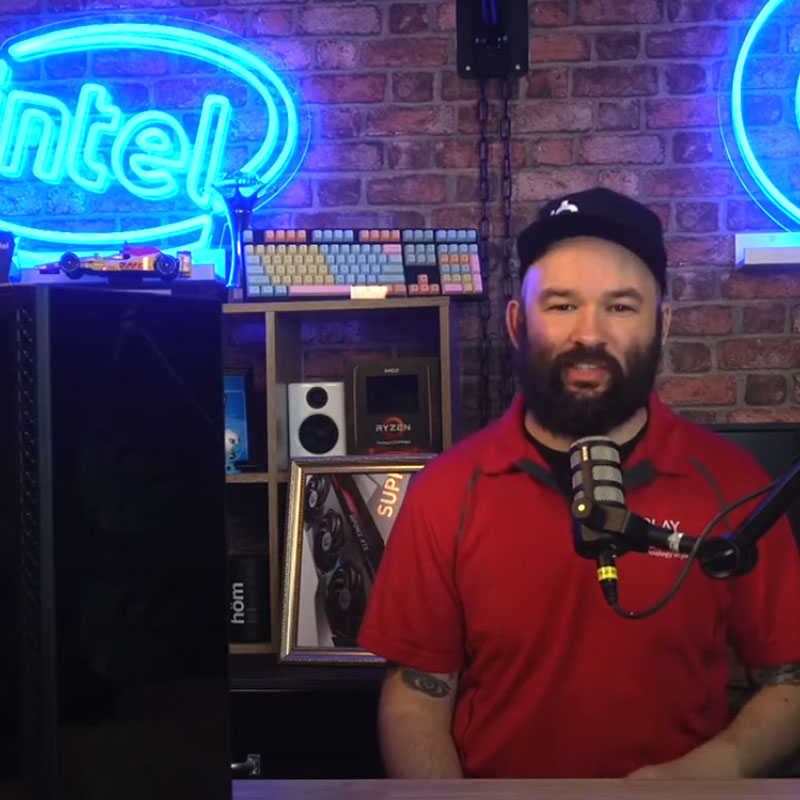
Quick Start Video
Check out this quick video that details the unboxing and setup process, or read through the steps below to get yourself up and running with your new Playtech PC!
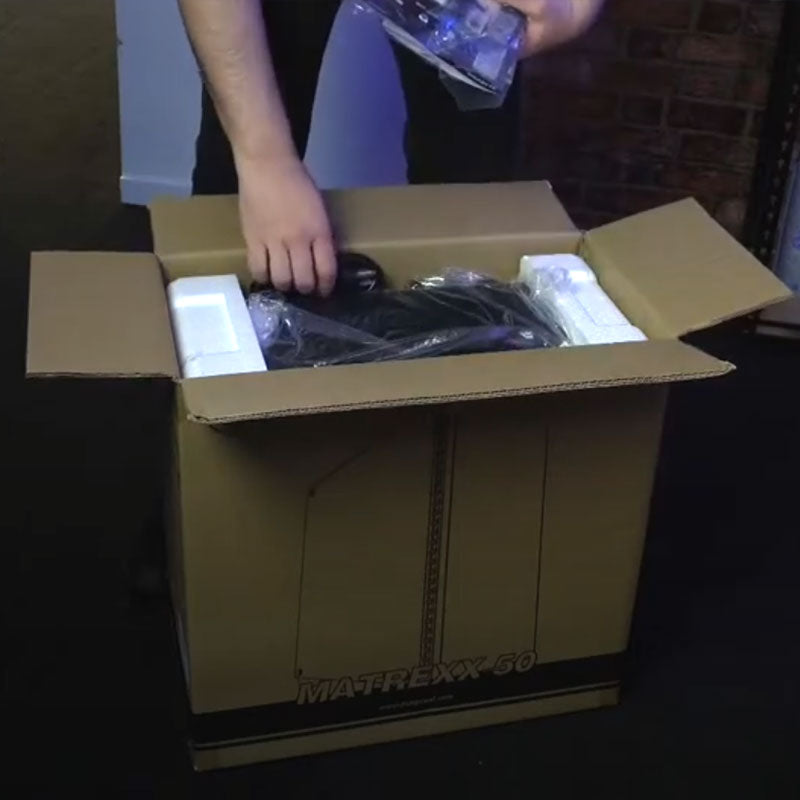
1. Unboxing Your PC
Please handle your new PC with care when removing it from the box - we recommend asking a friend to help if possible. Our video details the process here.
We also have a blog post that explains the most common ways to remove your PC's side panels here:
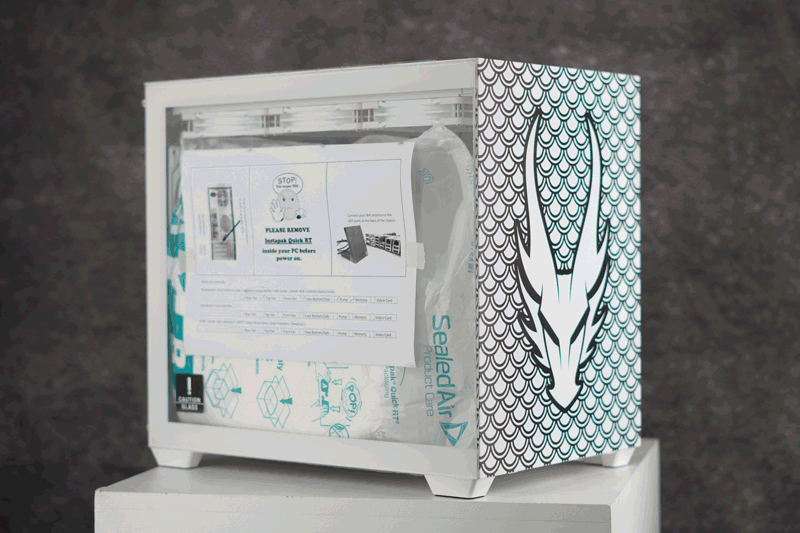
- You may find Instapak expanding foam inserts inside the case. These are there to protect your components during transit.
- In some cases, we may also place a piece of foam beneath the graphics card to support it in transit - these pieces of foam are often dark in colour so can be hard to spot, please carefully check for these and remove them if present.
- IMPORTANT:
Do not power on your PC until the foam has been carefully removed from inside the case. - If you picked up your PC it may not have any internal foam, as we usually reserve this for systems that are being delivered - but we still recommend inspecting the inside before turning it on, just in case.
IMPORTANT!
Please keep your PC’s box and Instapak (if present) as these items will make it much easier and safer to ship the PC back to us if you ever need warranty service.
If you don’t retain the packaging, there may be fees incurred when returning the PC as we will have to ship you additional packaging in order to protect your PC in transit.
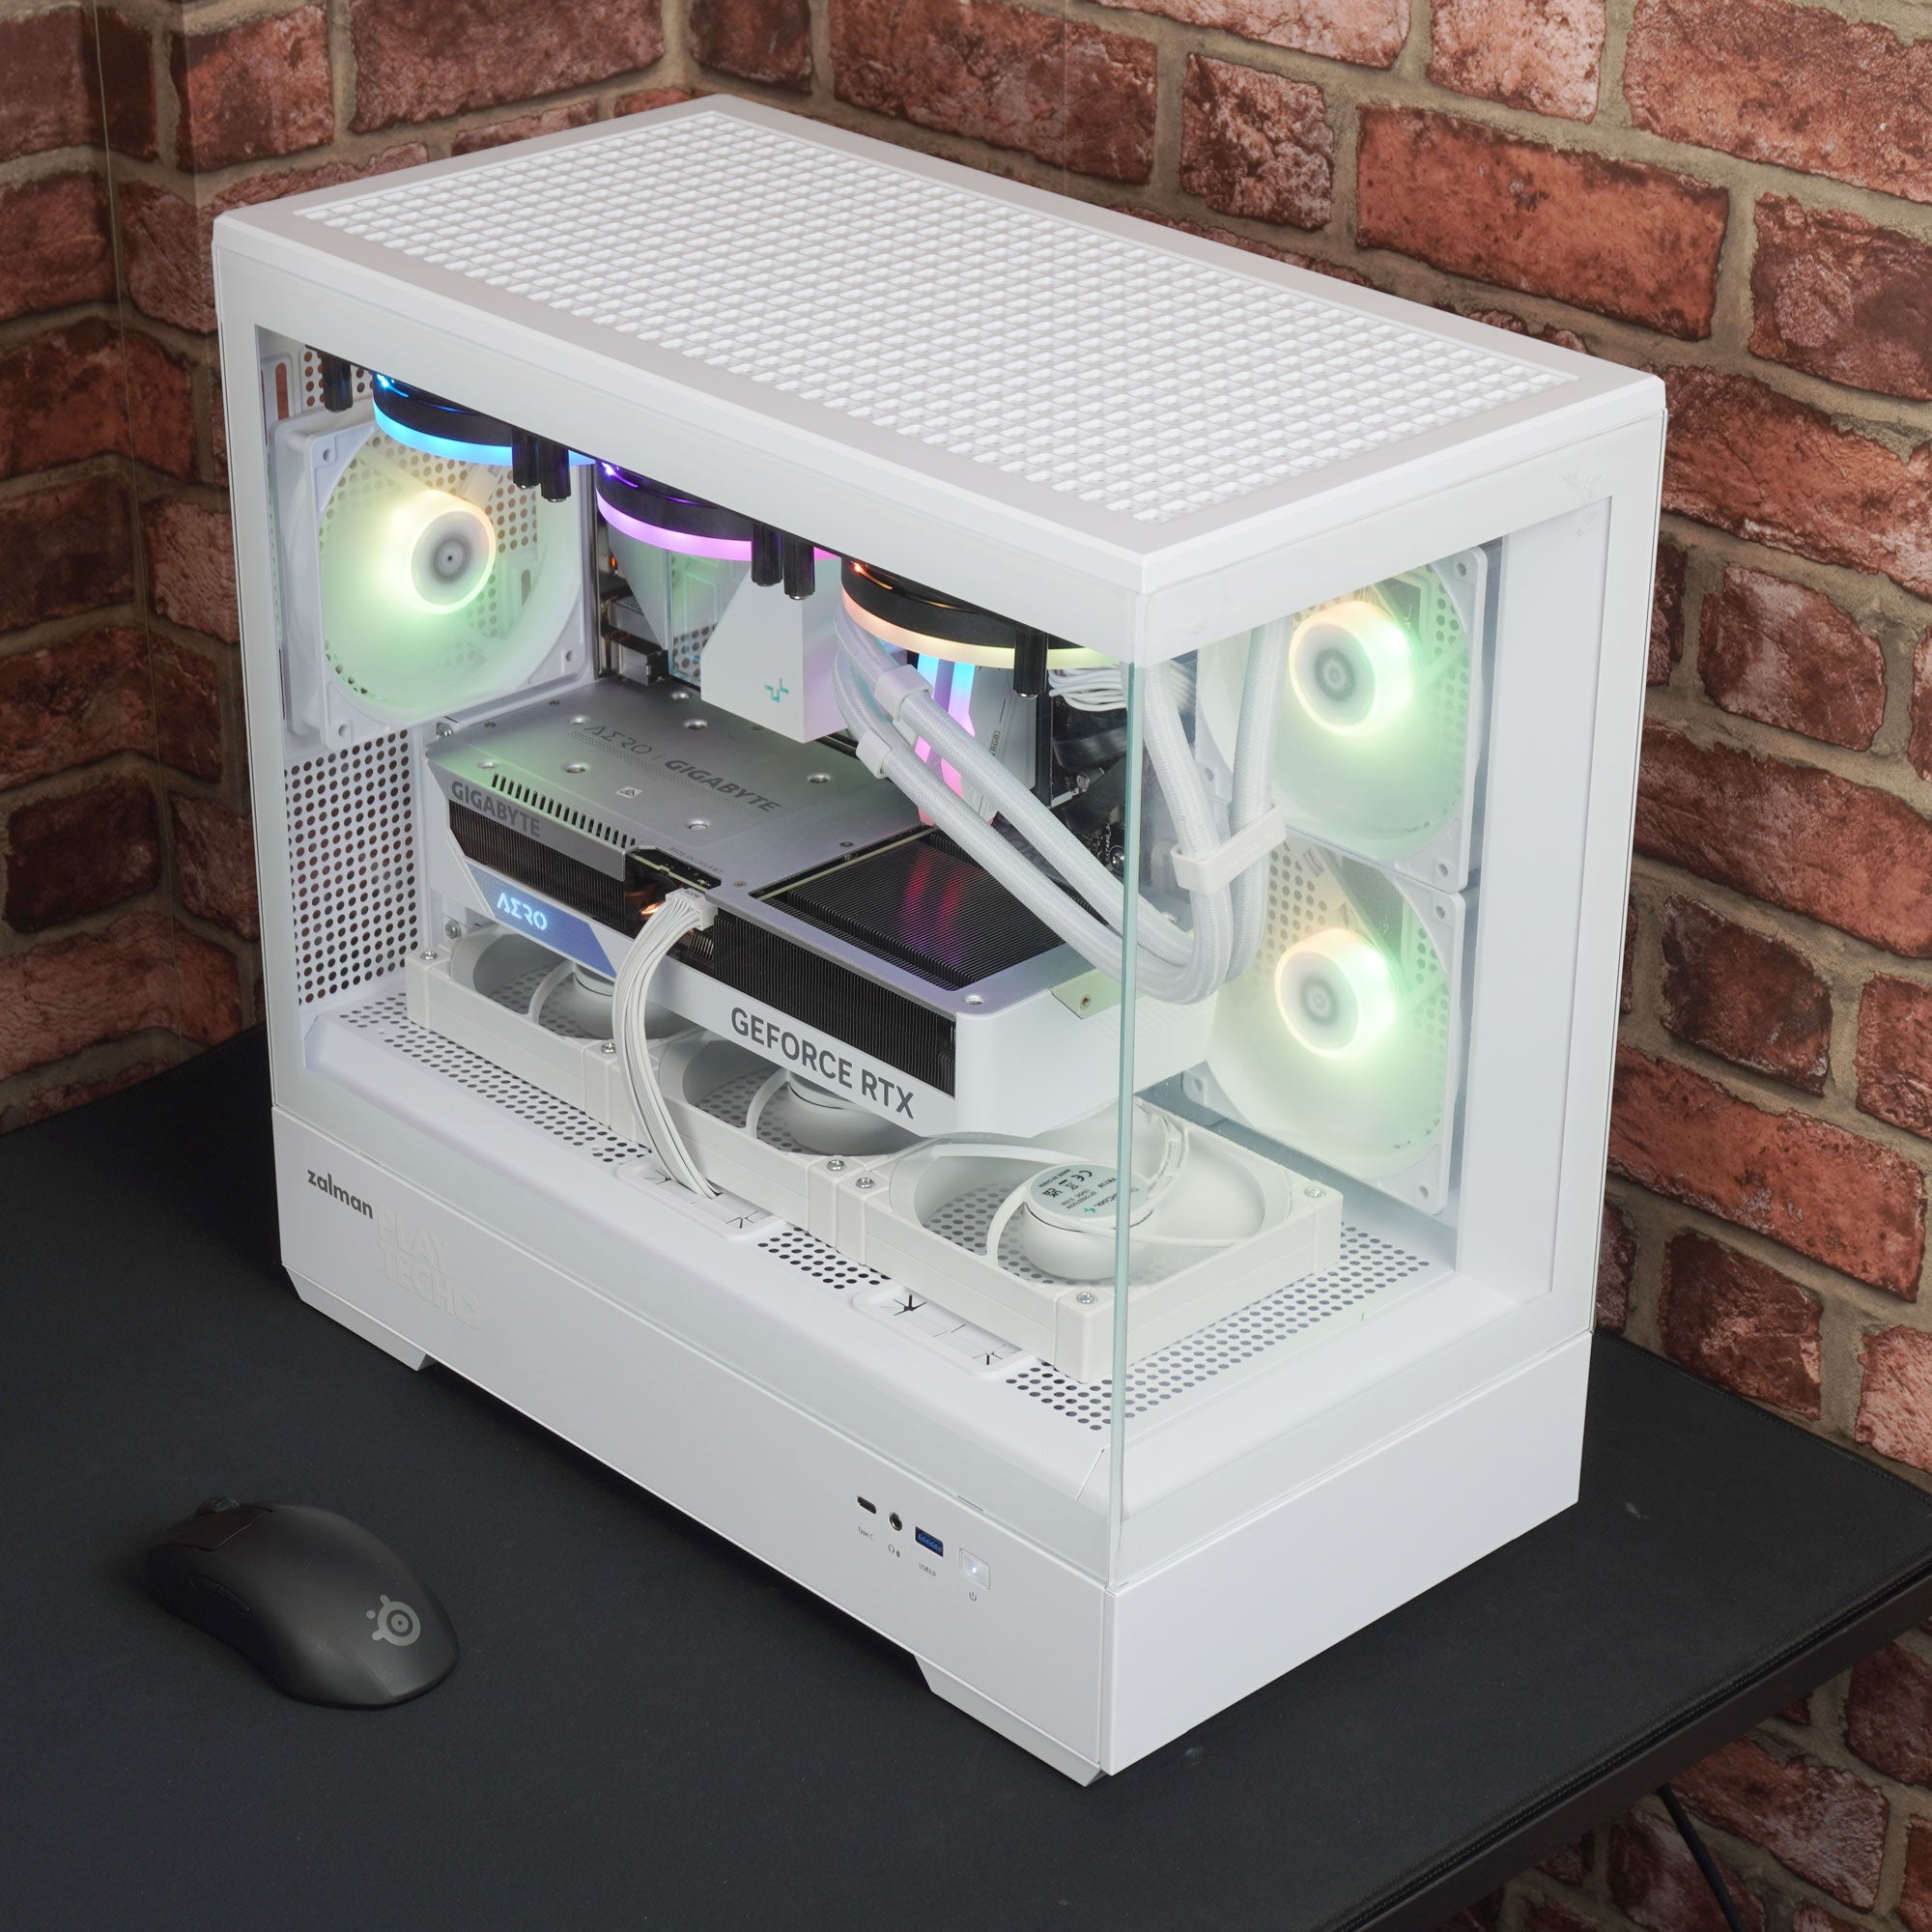
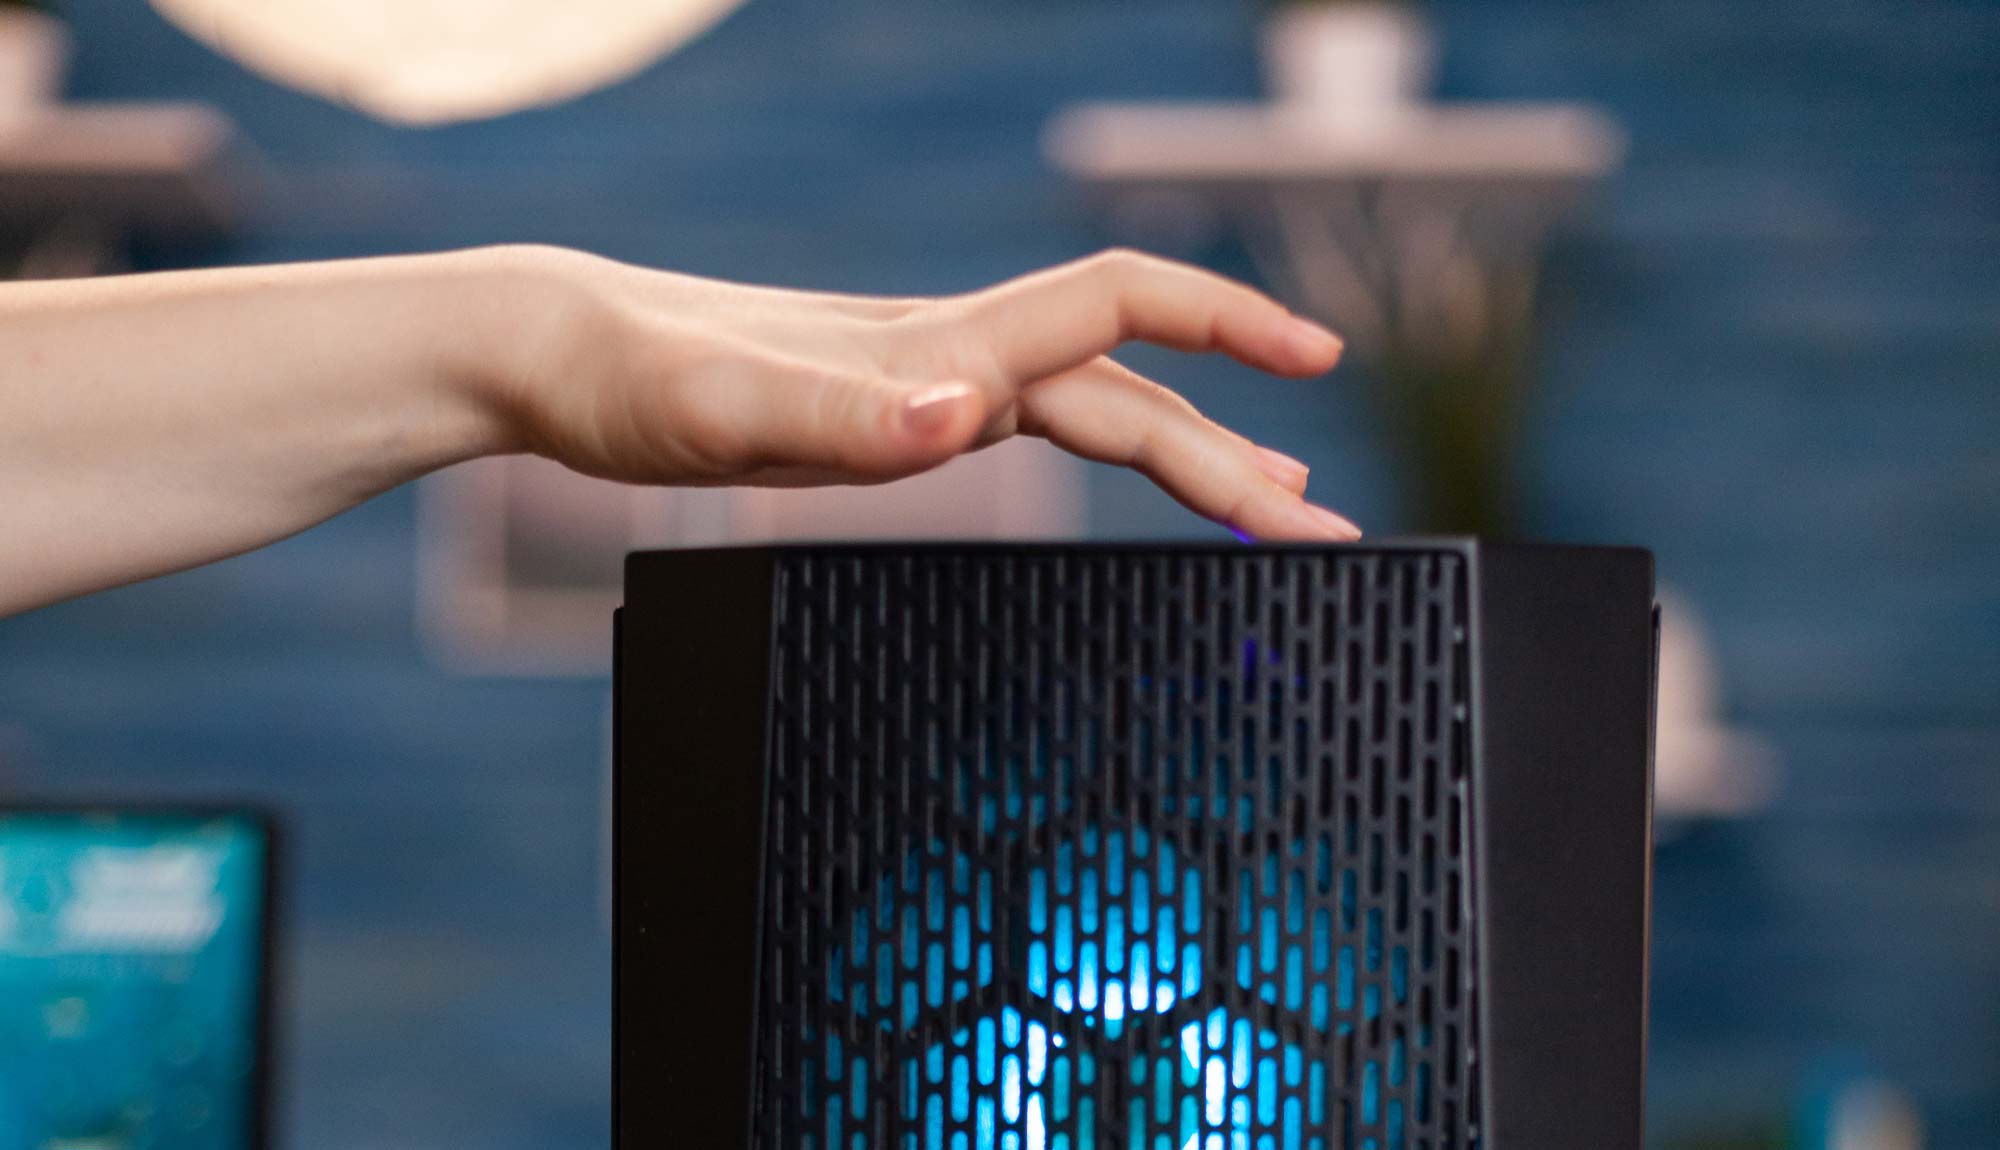
2. Place Your PC on your desk.
Set your PC on a clean, flat surface like a desk or table with enough ventilation around it. Avoid placing it directly on carpeted floors or in tight, enclosed spaces where airflow may be impaired.
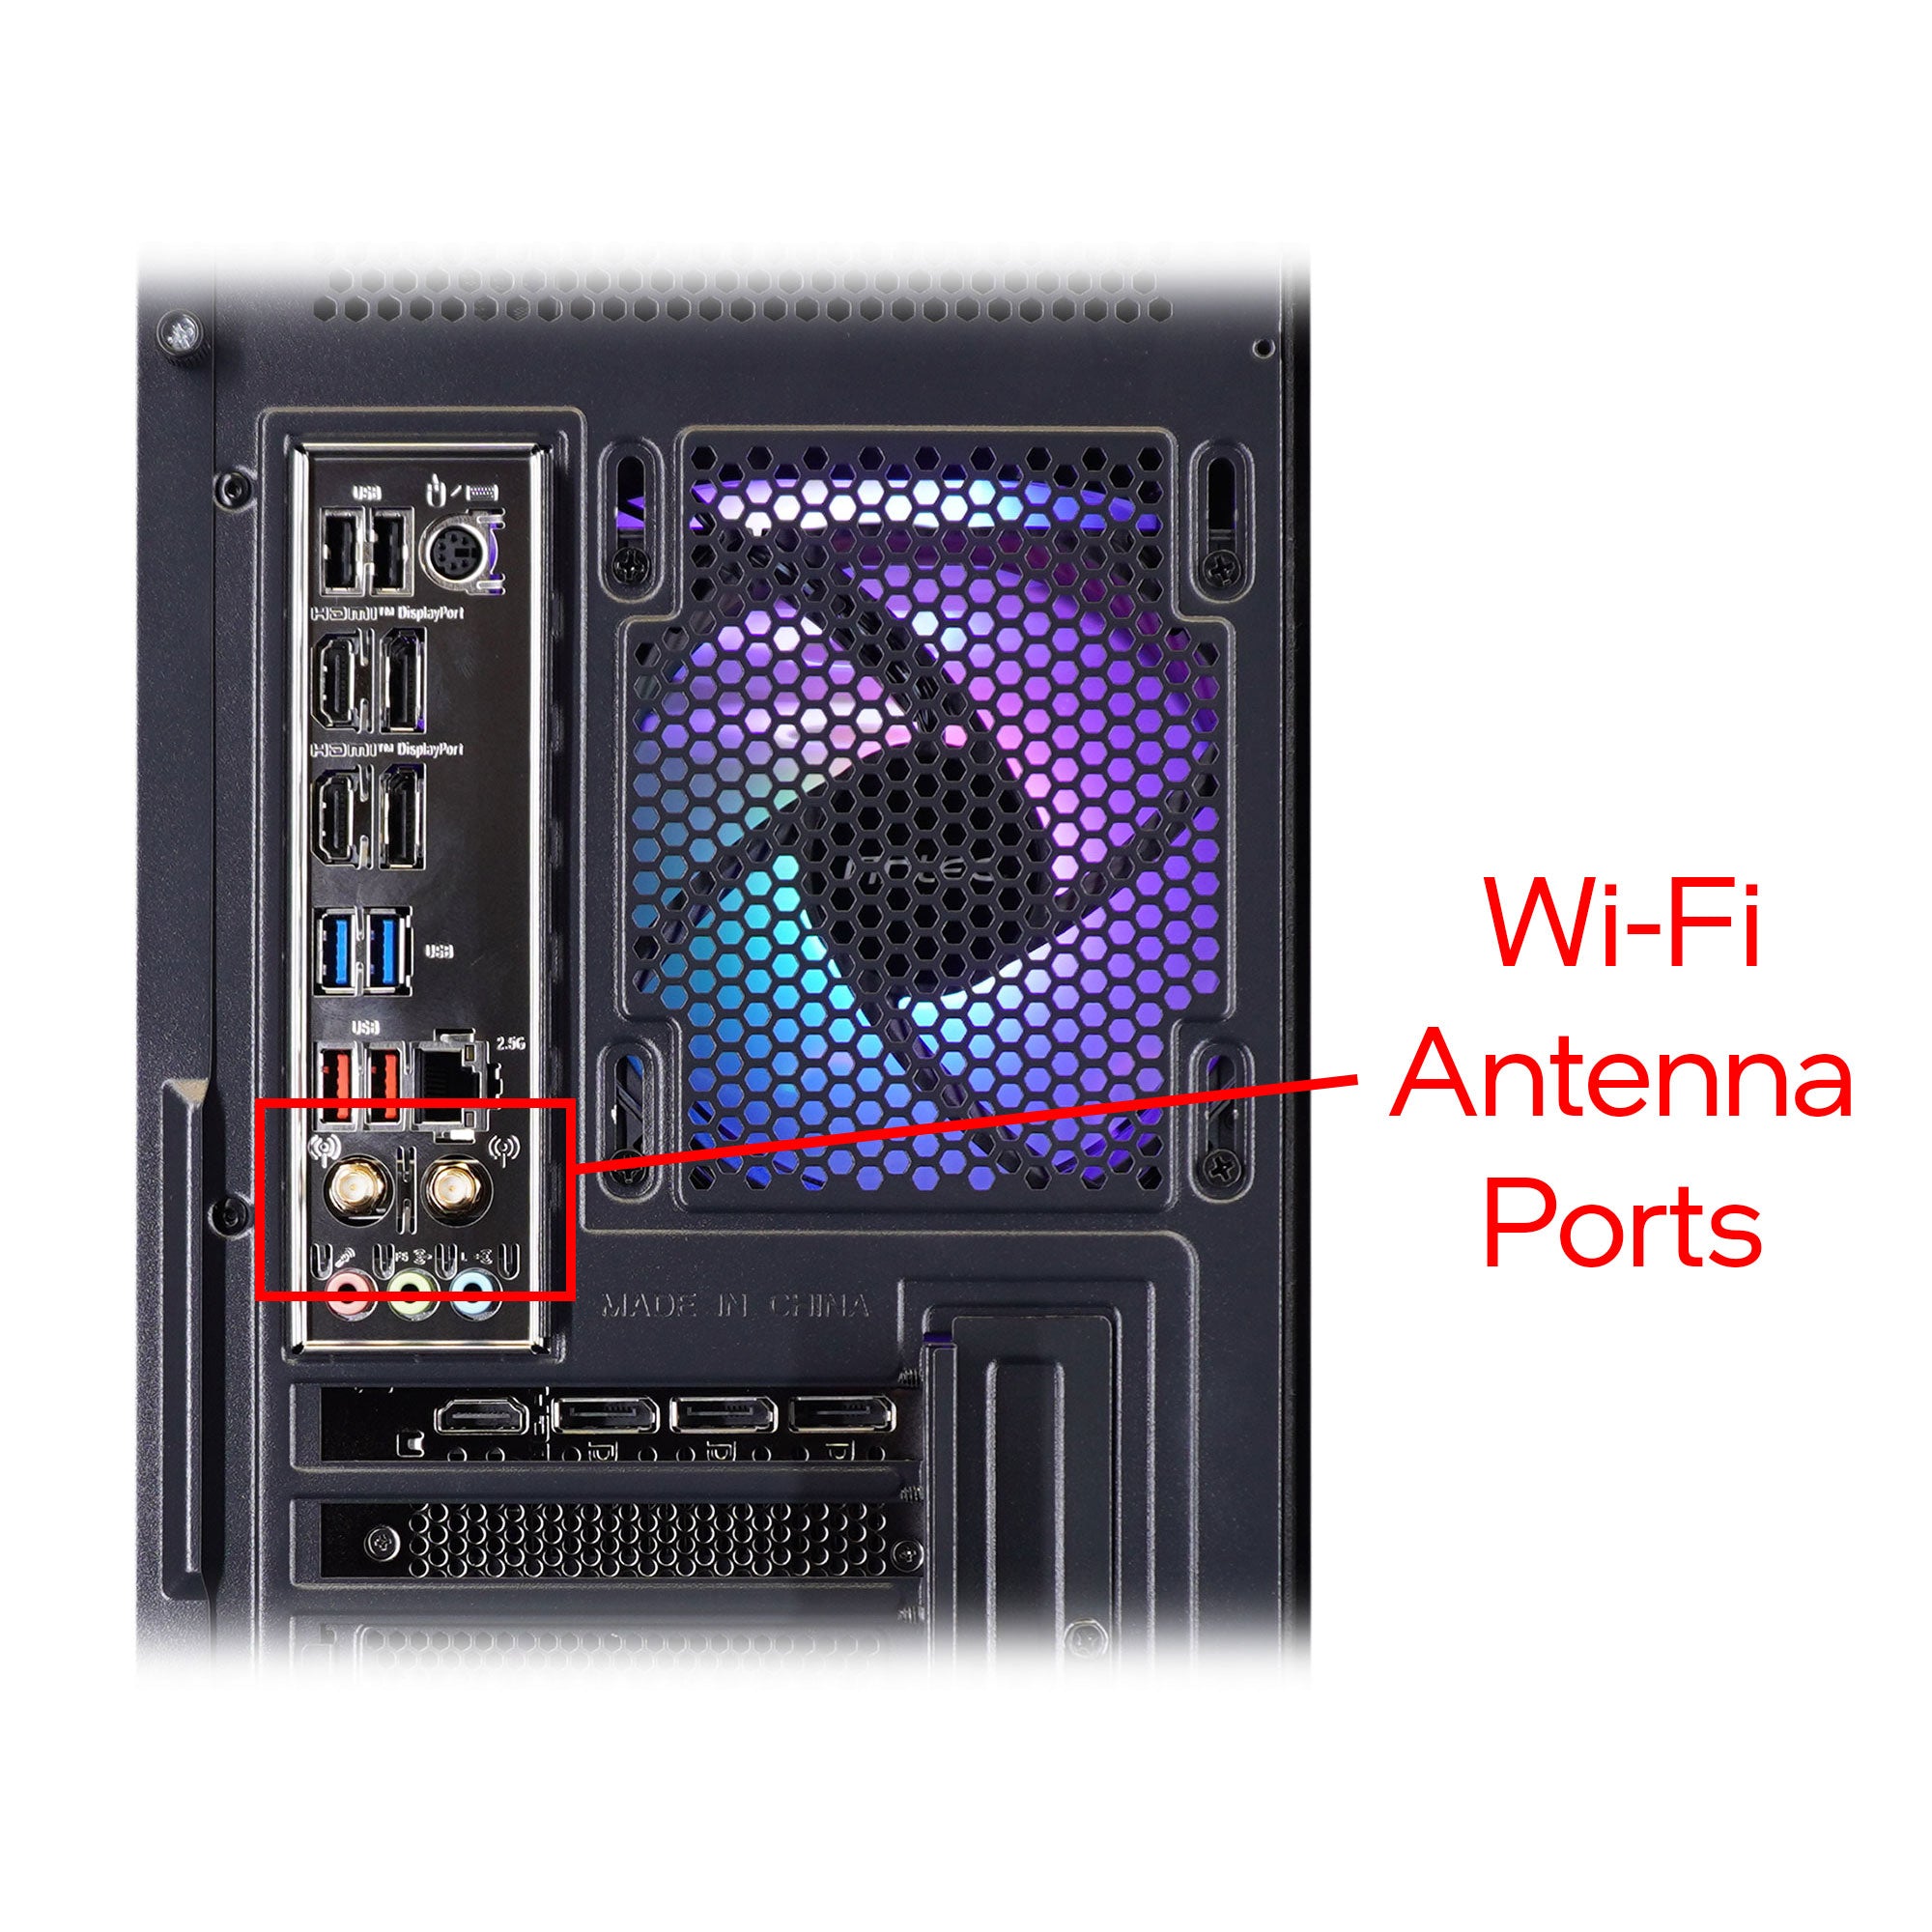
3. Install the Wi-Fi Antennae
Your Playtech PC includes Wi-Fi functionality, but if you don't install the Wi-Fi antennae then your range and reception will be severely limited. We recommend installing these even if you use a wired internet connection, as they're also responsible for your bluetooth connection too. You can see us demonstrate connecting these Antennae here
Locate the Wi-Fi antennae in the accessories box and screw them onto the brass threads on the rear I/O panel of your PC until secure - do not overtighten!
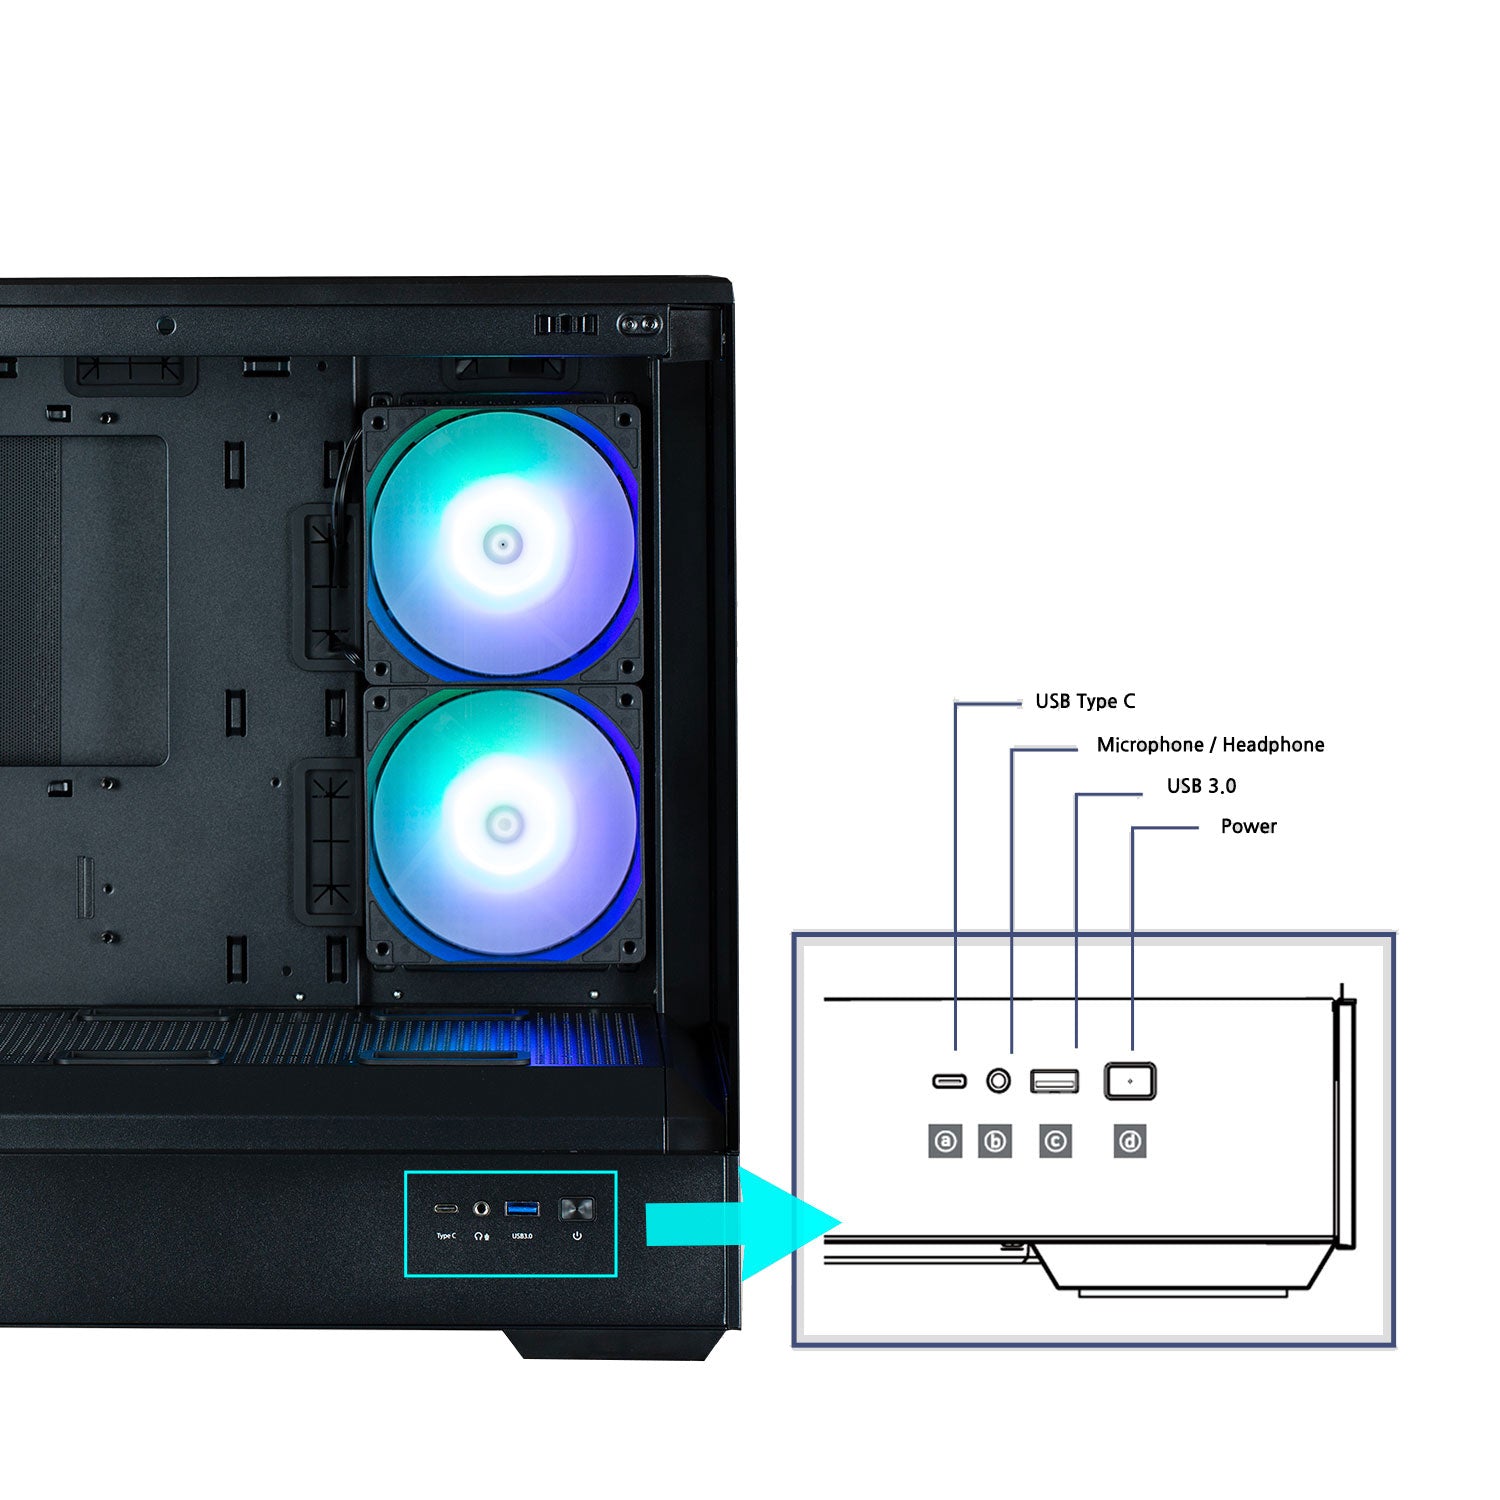
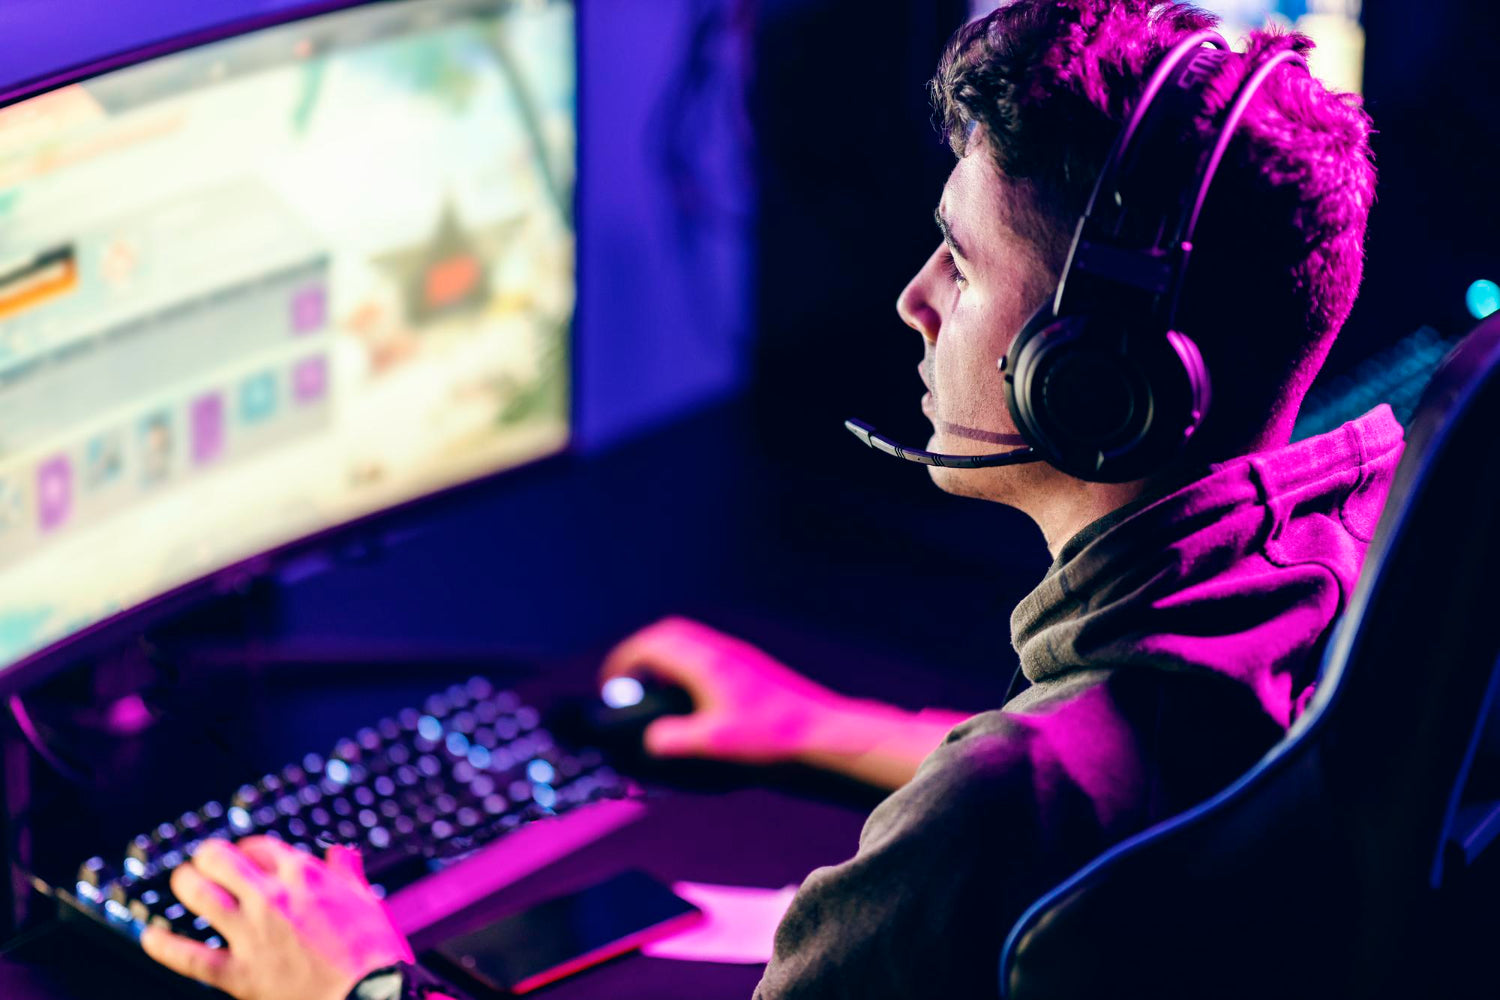
4. Connect Your Devices
Plug in your peripherals such as:
- Keyboard
- Mouse
- Webcam
- Headphones
Your USB devices can be plugged into the front or rear ports on your PC, and you'll also find connections for audio accessories like headphones on both the front and rear of your system.
These devices are not included with your PC purchase but are available through the Playtech online store.
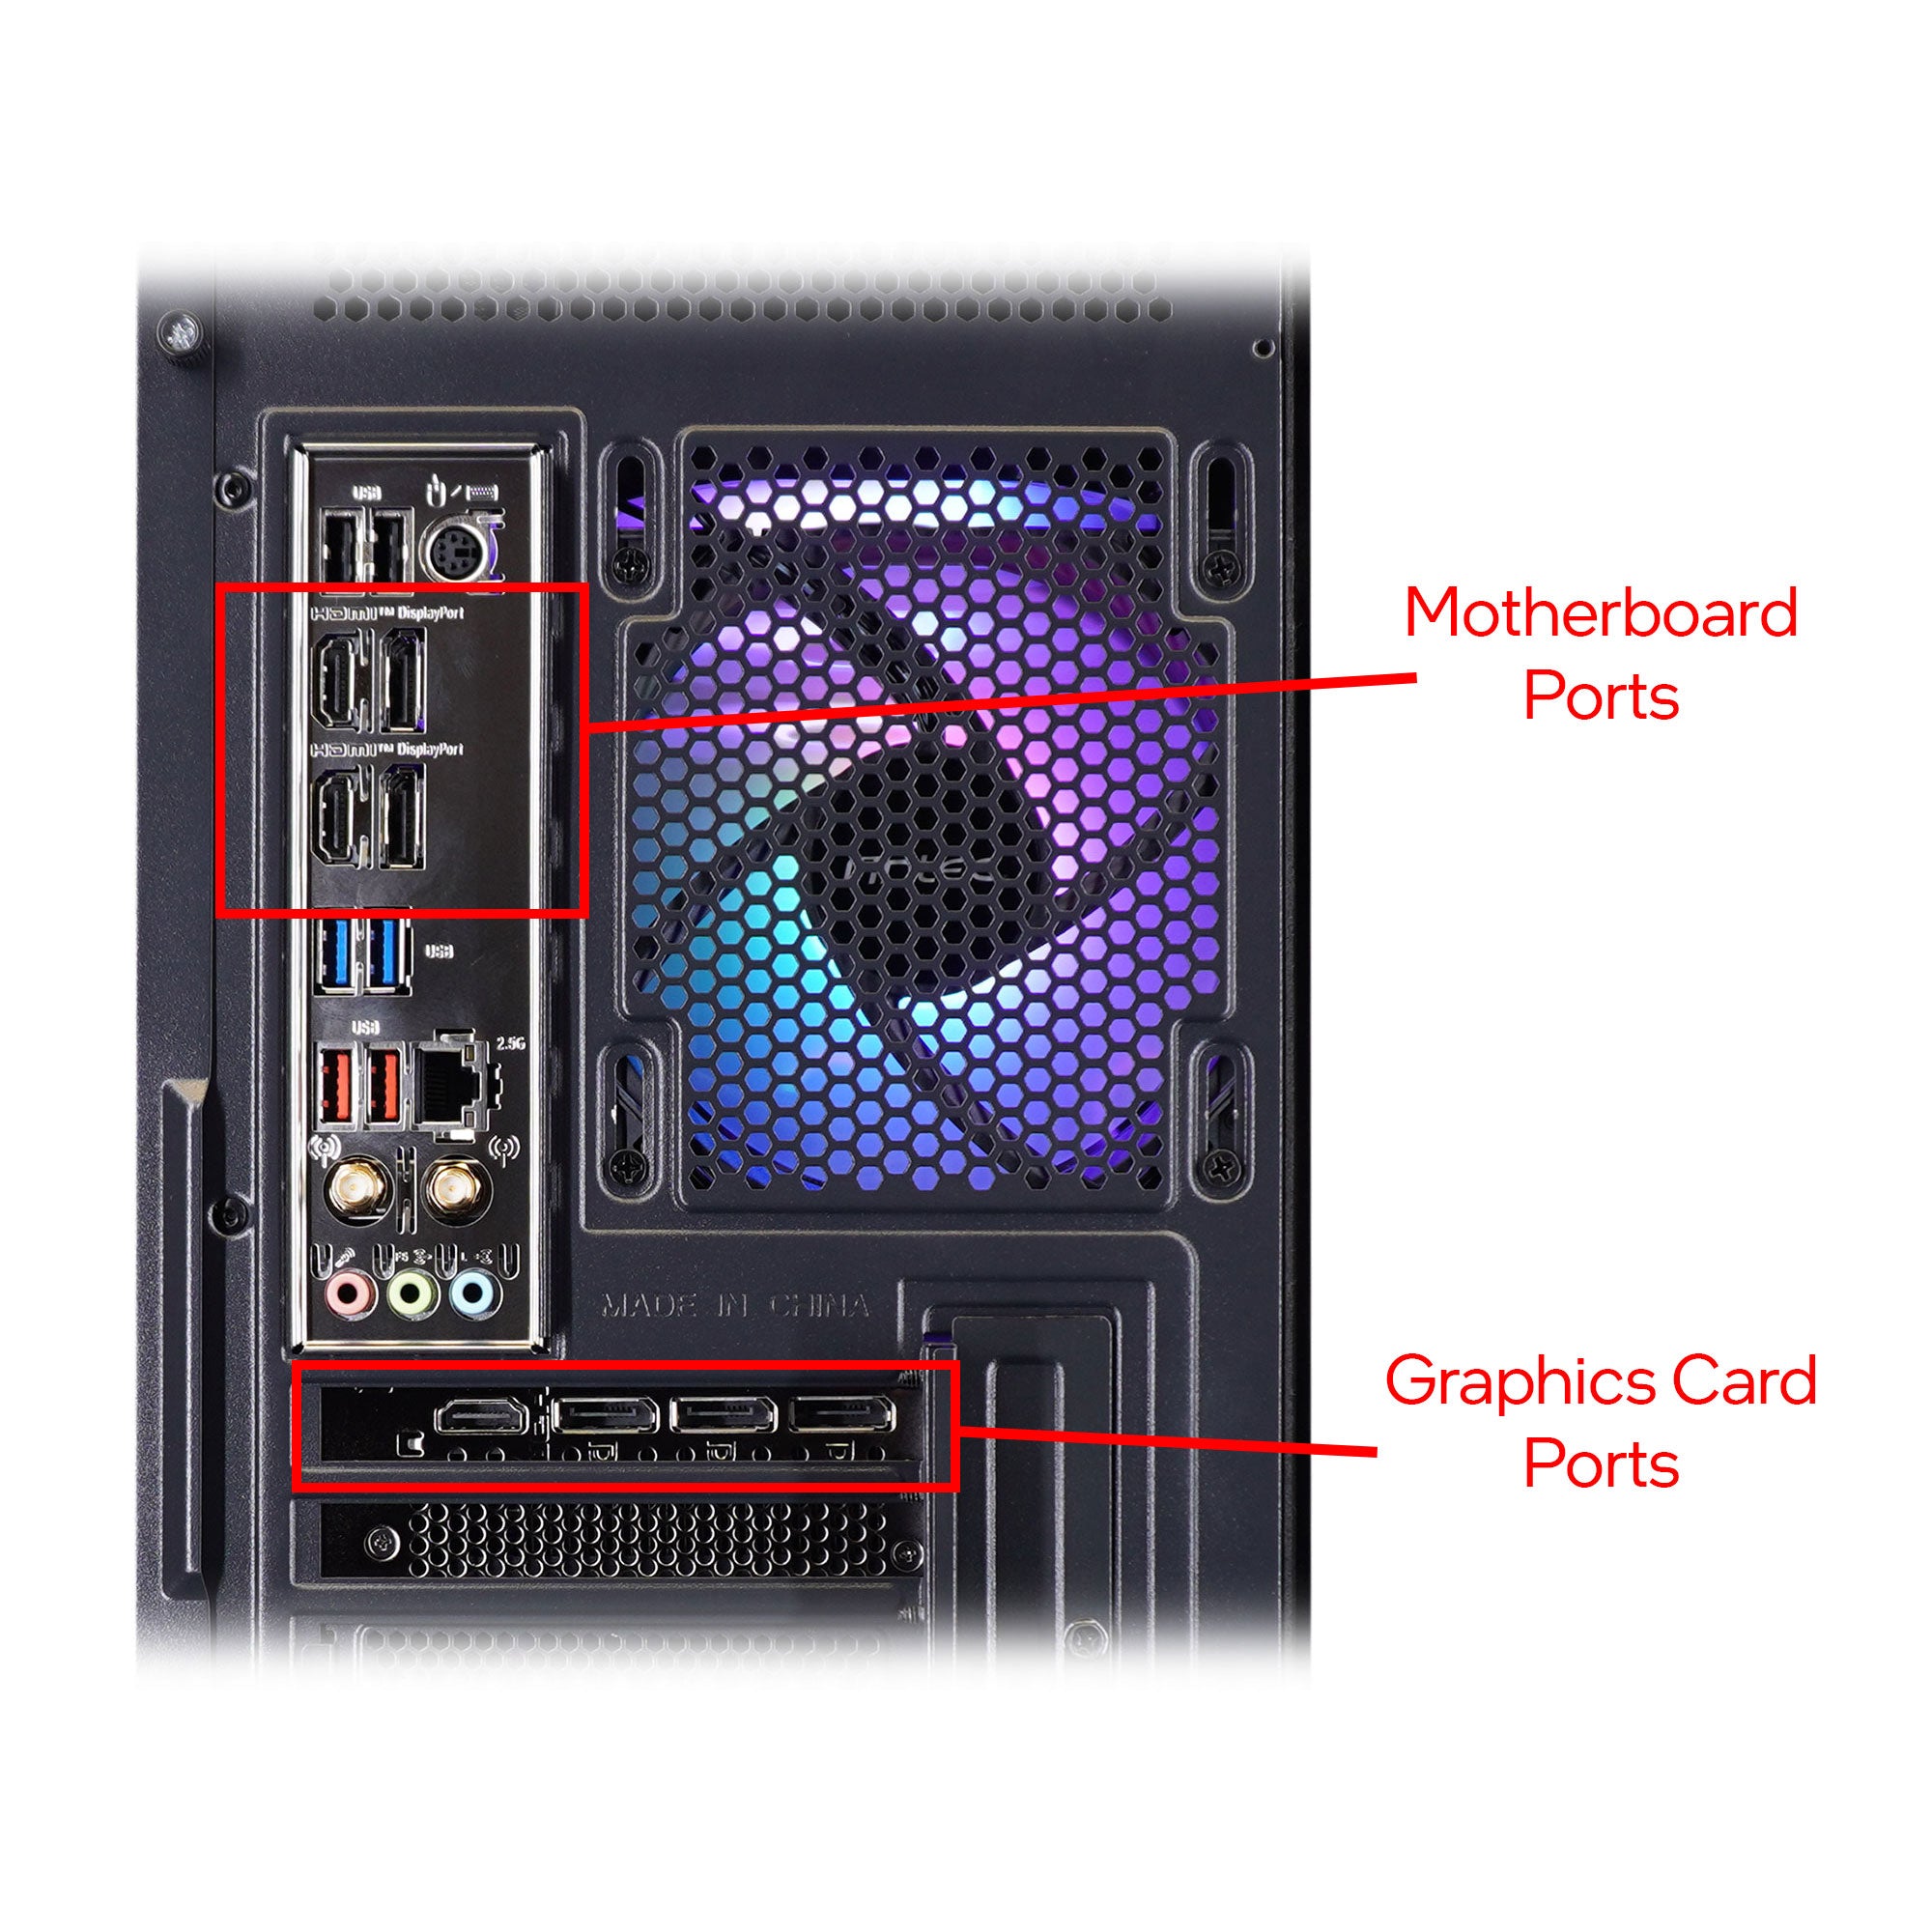
5. Connect Your Monitor
This is an important step!
Plug your monitor into the graphics card port, located on the lower part of the rear of your PC.
Do not use the ports near the top (on the motherboard), as these are disabled when a dedicated graphics card is installed.
Important: The number of ports will vary based on the specification of your system, don't worry if it looks slightly different from this picture.
⚠️ Note:
On some entry-level systems where the graphics are integrated into the CPU, you will need to use the motherboard's video output instead. If you're unsure, reach out to our support team.
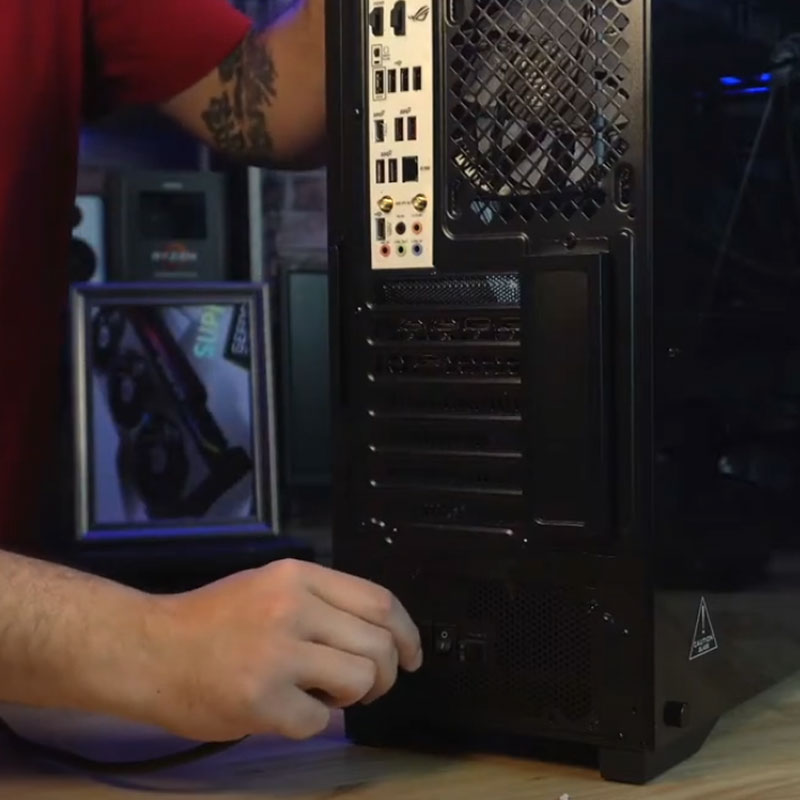
6. Plug in the Power
Connect the IEC power cable (included) to the power port on the back of the PC.
Locate the power switch on the power supply unit (PSU) and flip it to the “|” (on) position.
7. Power On and Play
Press the power button on the front of your PC.
The system will power on and load up windows - now you’re ready to install your games and jump into the action.
If you have any questions or need help at any step, our support team is here for you.
Happy gaming from the team at Playtech!
Troubleshooting Guides:
How to Discharge Residual Current in Your PC — and Why It Fixes More Than You'd Expect
How to Do a Clean GPU Driver Install with DDU on Windows 11 & 12
Read moreabout How to Do a Clean GPU Driver Install with DDU on Windows 11 & 12
Unlock the Ultimate Performance Power Plan for Smoother PC Gaming on Windows 11 & 12
Read moreabout Unlock the Ultimate Performance Power Plan for Smoother PC Gaming on Windows 11 & 12