How to Use the System File Checker Tool in Windows 10 or 11
Is your Windows system acting up? Missing or corrupted system files could be the culprit. Luckily, Windows provides a handy tool called the System File Checker (SFC) to help you fix these issues. Here’s a quick guide on how to use it:
-
Open Command Prompt as Administrator: Click the search field in the task bar (or start menu, depending on version of windows) and type "cmd". From the results look for "Command Prompt" and right-click on it and select "Run as administrator".
-
Run the DISM Tool: Before using SFC, it’s a good idea to run the Deployment Imaging Service and Management Tool (DISM) to fix any underlying issues. Type the following command and press Enter:
DISM.exe /Online /Cleanup-image /RestorehealthThis might take a few minutes.
-
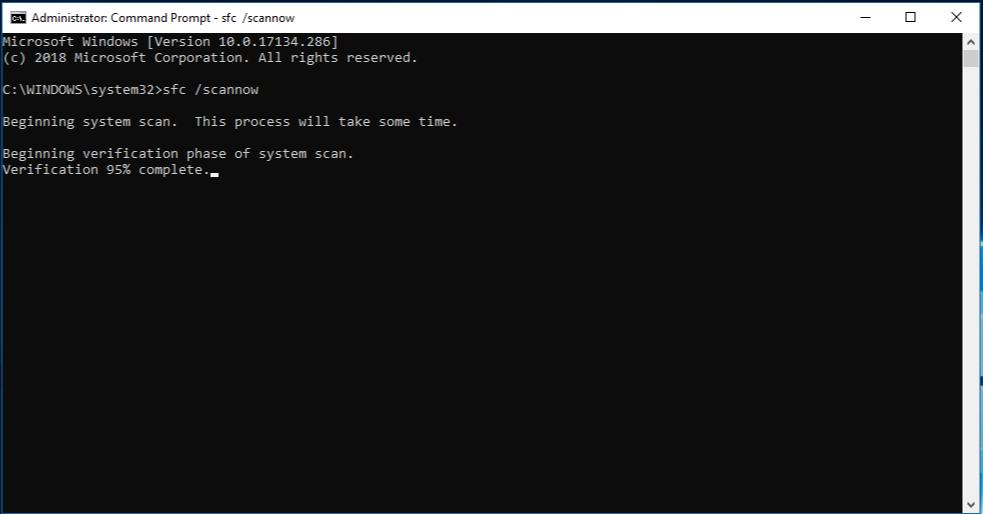
Run the SFC Tool: Once DISM completes, type the following command and press Enter:
sfc /scannowThis command will scan all protected system files and replace corrupted files with a cached copy. The scan might take some time, so be patient.
-
Review the Results: After the scan completes, you’ll see one of the following messages:
-
Windows Resource Protection did not find any integrity violations: No issues found.
-
Windows Resource Protection could not perform the requested operation: Try running SFC in safe mode.
-
Windows Resource Protection found corrupt files and successfully repaired them: Issues fixed.
-
Windows Resource Protection found corrupt files but was unable to fix some of them: You may need to manually replace the corrupted files. instructions on doing this can be found here under the "more information" section.
-
For more detailed instructions, you can visit the Microsoft Support Page

Share:
How to identify your Motherboard
How to Remove the Side Panel from Your Playtech Gaming PC