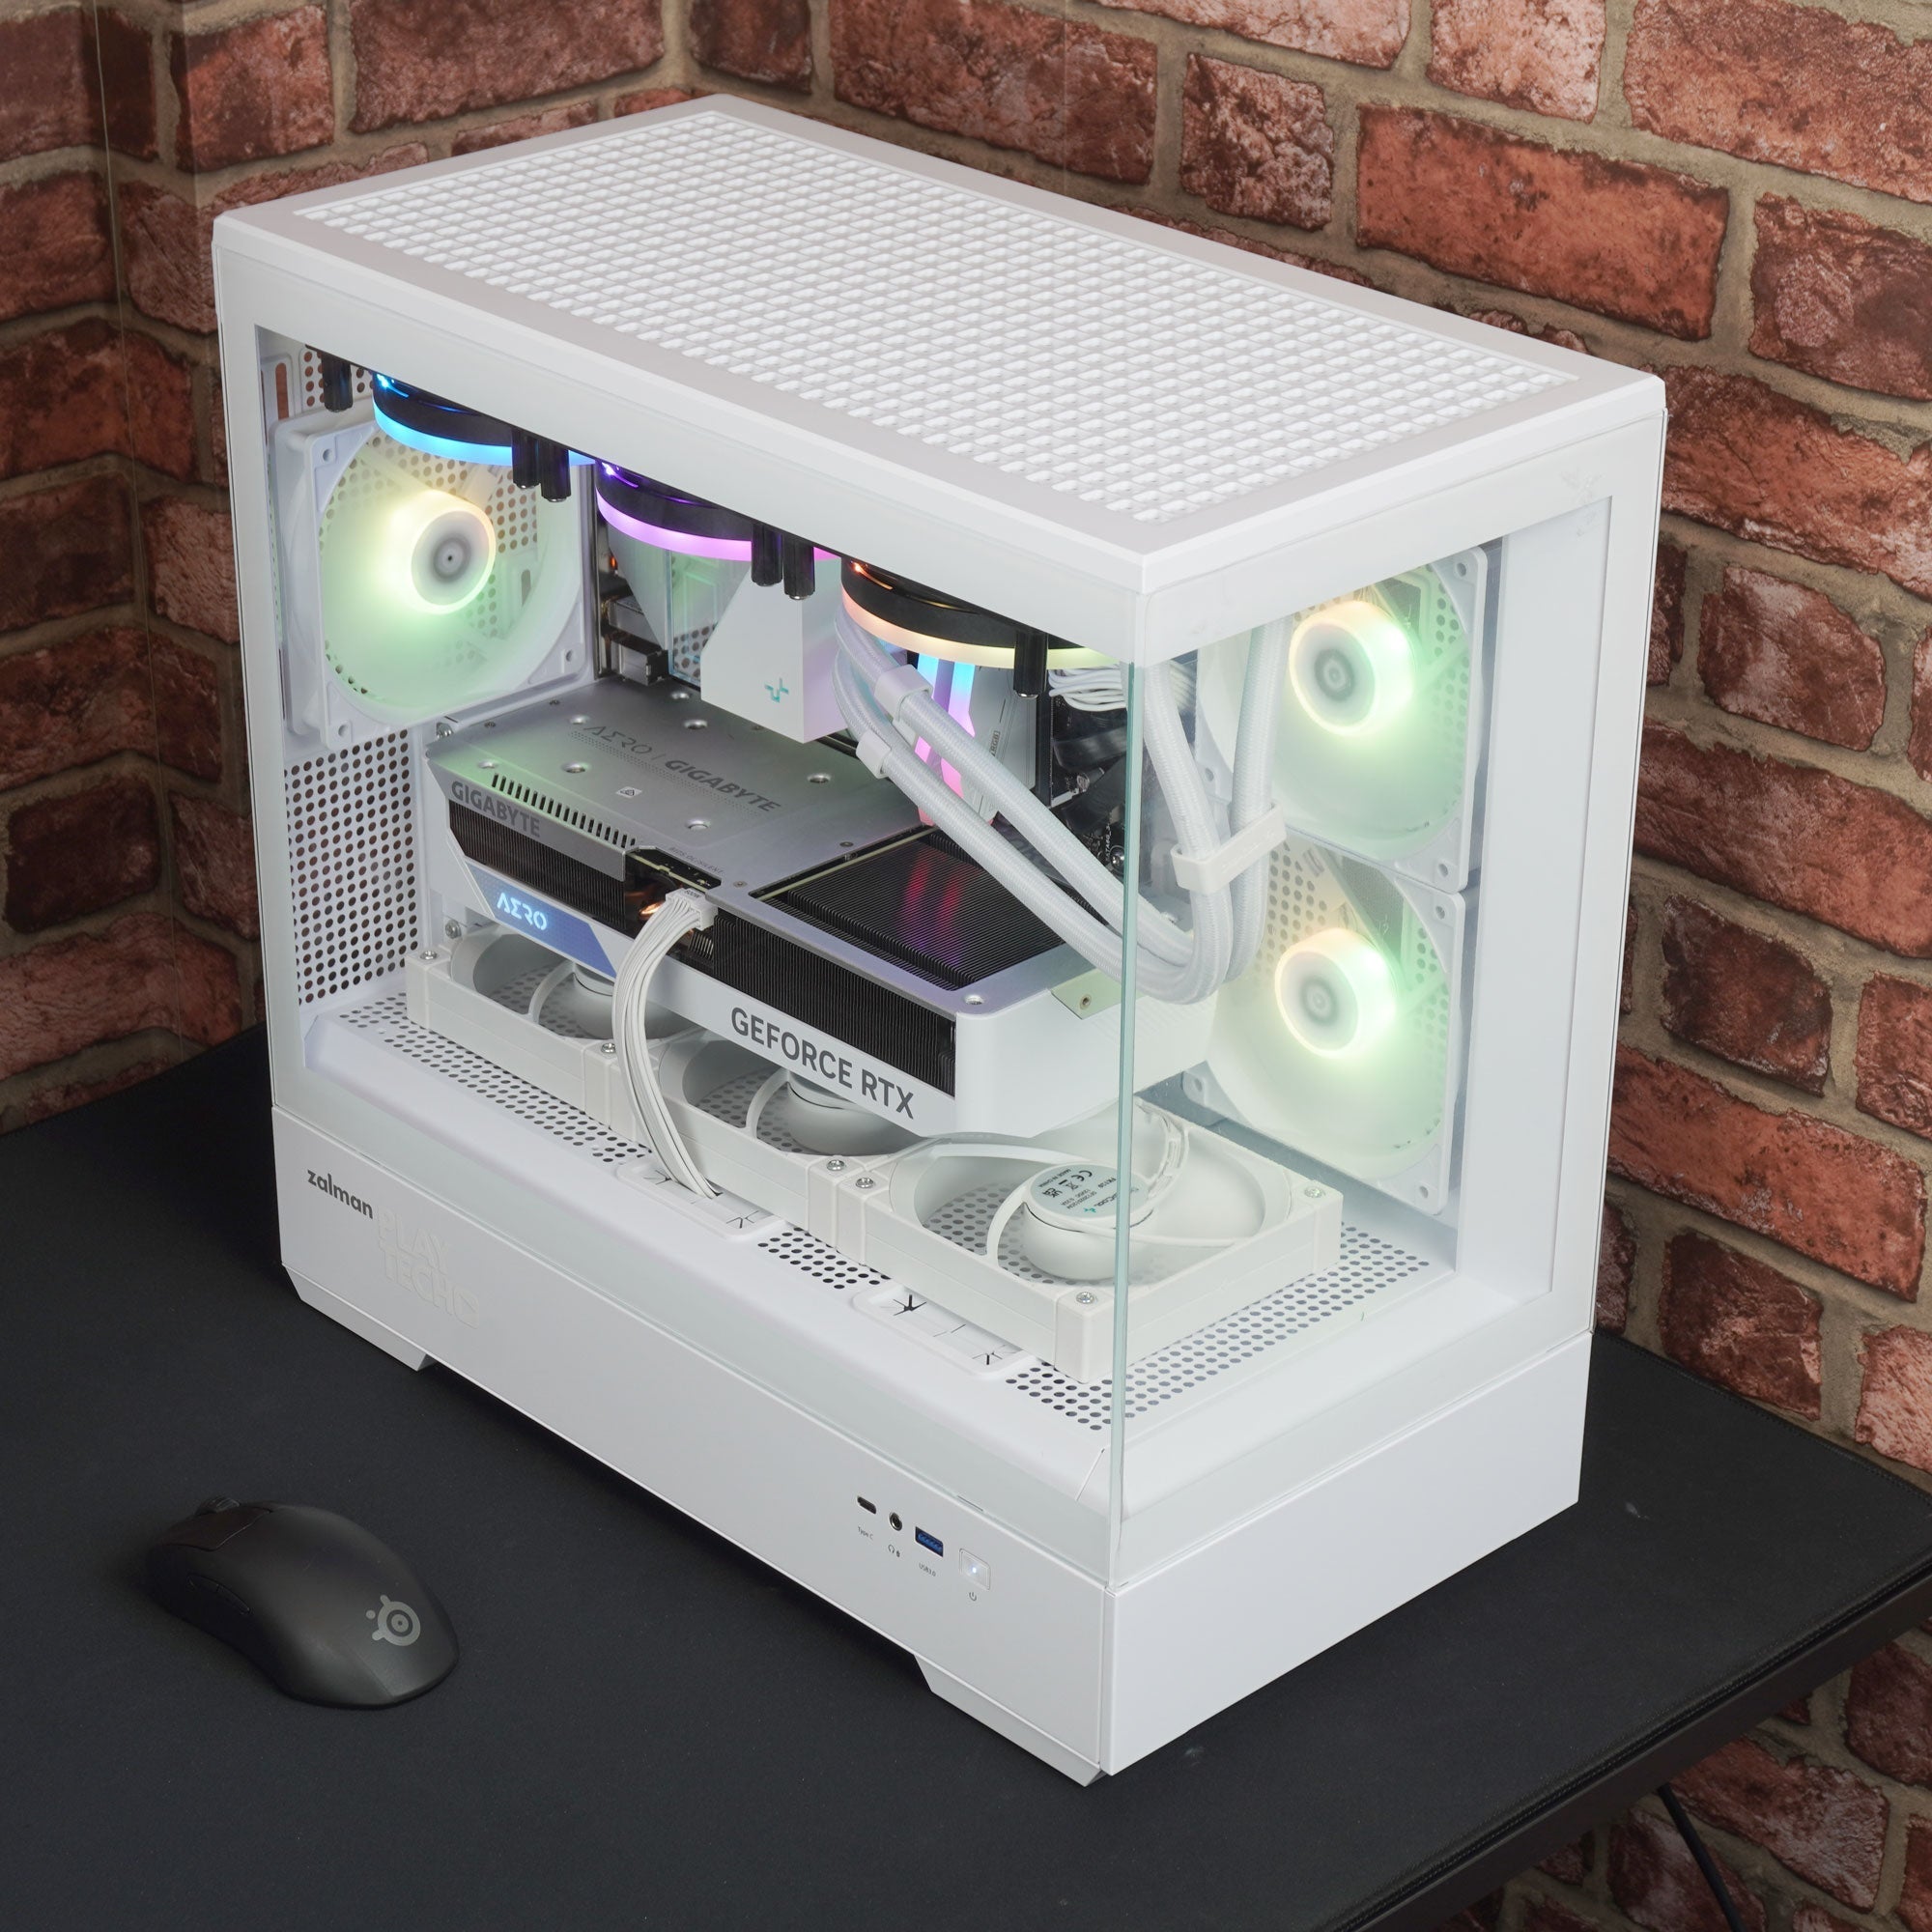
Whether you’re upgrading components, cleaning dust out, or just curious about what’s inside your Playtech gaming rig, knowing how to safely remove the side panel is the first step. At Playtech, we use a few different chassis designs depending on the model of your system. This guide will walk you through how to remove the side panel for each of the three main types of cases we use.
Type 1: Thumb Screw and Slide Panel (Most Common)
This is the most widely used case type across our gaming PC range. It features a simple, tool-free method of accessing the internal components.

Steps:
- Power Down and Unplug – Always shut down your PC and disconnect it from the power source before opening the case.
- Locate the Thumb Screws – At the back of the PC, you’ll see two large screws (thumb screws) securing the side panel.
- Remove the Screws – Loosen these with your fingers or a screwdriver if they’re tight.
- Slide the Panel – (1) Once the screws are removed, slide the panel about 2cm (or an inch) toward the back of the case.
- Lift the Panel Outward – (2) After sliding, the panel should be free. Carefully lift it outward and set it aside on a soft surface.
Tip: This panel is usually on the left side when looking from the front.
Type 2: Clip-On Side Panels (Tool-Free Access)
Some of our systems use cases that feature clip-on side panels. These are designed for quick and easy access with no screws required.

Steps:
-
Power Down and Unplug – Make sure your system is safely powered off and unplugged.
-
Find the Top Rear Corner – Go to the top-back edge of the panel. There’s usually a small grip point or a spot to place your fingers.
-
Pull Gently but Firmly – With steady pressure, pull the top rear corner away from the chassis. The clips should disengage.
-
Unclip the Remaining Edges – Once the top is loose, the rest of the panel should come off easily as you work your way down.
Tip: Be gentle—don’t force it. If it’s not coming off easily, double-check that the panel isn’t secured by hidden screws.
Type 3: Hinged or Button-Release Panels
Some high-end cases come with hinged or button-release panels for even easier access.

Steps:
-
Power Down and Unplug – As always, safety first.
-
Locate the Release Button or Latch – These are usually found at the top or rear edge of the panel.
-
Press the Button or Release the Latch – This will disengage the locking mechanism.
-
Swing Open or Lift Off the Panel – Depending on the model, the panel may swing open like a door or lift off entirely.
Tip: If the panel swings open, make sure there’s enough clearance on that side of the PC before opening it.
Final Notes
-
Always handle the side panel carefully to avoid scratches or bending.
-
Place the removed panel on a soft surface to prevent cosmetic damage.
-
When reinstalling the panel, reverse the steps above, ensuring it's secure before reconnecting and powering on your PC.
If you're ever unsure about your specific case model or run into trouble, feel free to contact our support team or visit us in-store — we’re always happy to help.

Share:
How to Use the System File Checker Tool in Windows 10 or 11
Adding A New User Account to your Playtech PC