
How to Clean Your PC Using Compressed Air
Keeping your PC clean isn’t just about looks — regular cleaning helps maintain airflow, keeps temperatures down, and can even extend the life of your components. The good news? You don’t need fancy tools or technical skills. A simple can of compressed air, available from local hardware stores like Bunnings, is all you need.
What You’ll Need
-
A can of compressed air
-
A clean, well-lit workspace
-
A few minutes of your time
Step 1: Power Down and Unplug
Before you start, shut down your PC completely and unplug it from the wall. For extra safety, hold the power button for a few seconds after unplugging to discharge any remaining power.
Step 2: Open the Case
Remove the side panel of your PC case to access the internal components. Most modern cases use thumbscrews, making this quick and easy.
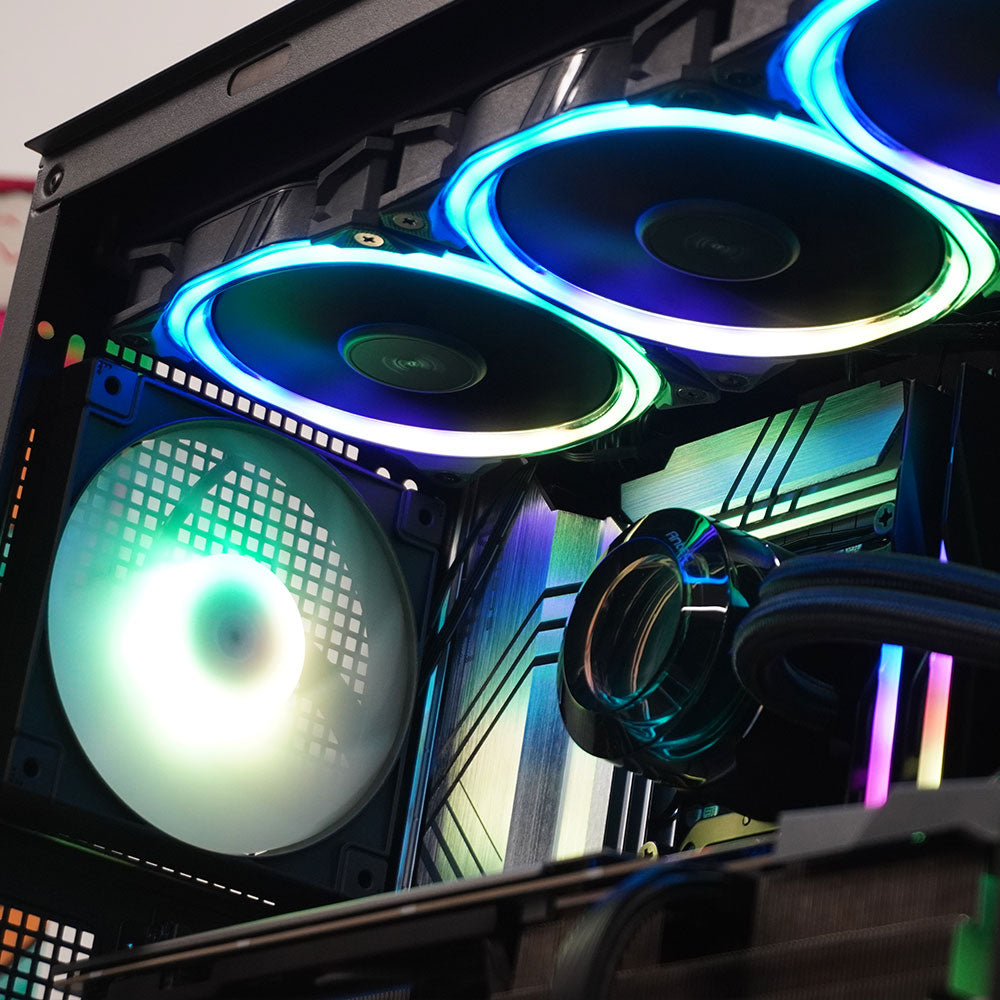
Step 3: Blow Out the Dust
Using short, controlled bursts, gently blow compressed air over dusty areas such as:
-
Case fans
-
CPU cooler and heatsink
-
Graphics card
-
Power supply vents
Always keep the can upright and avoid shaking it. Do not let fans spin freely — lightly hold them in place with a finger while cleaning to prevent damage.
Step 4: Work From Top to Bottom
Start at the top of the case and work your way down so dust falls out naturally. Aim to push dust out of the case rather than deeper inside it.
Step 5: Close Up and Power On
Once everything looks clean, replace the side panel, plug your PC back in, and power it on. You’re good to go.
How Often Should You Clean Your PC?
For most setups, a quick clean every 3–6 months is ideal. If your PC sits on the floor or you have pets, you may want to clean it more frequently.
A little maintenance goes a long way — regular cleaning helps your PC run cooler, quieter, and more reliably. If you ever have questions or need advice on PC care, the Playtech team is always happy to help.
Share:
Nvidia Studio Drivers vs Game Ready Drivers – Which One Do You Need?
How to Disable VBS and Memory Integrity for Better Gaming Performance on Windows 11 & 12